Launch Game Character Hub. If launched the first time after the update, a new window should appear.
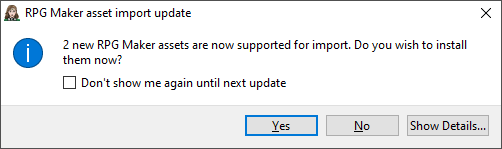
Click on Yes and go to the next step.
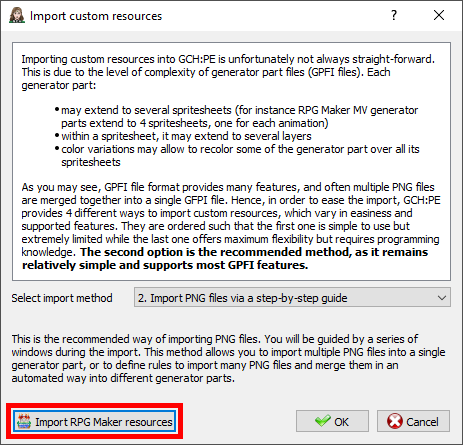
If the window does not appear then go to File > Import resources… The window below will appear, and select Import RPG Maker resources:
You should now see the import wizard window:
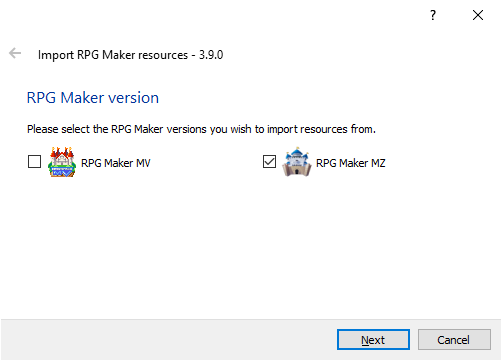
Select RPG Maker MZ and click on Next.
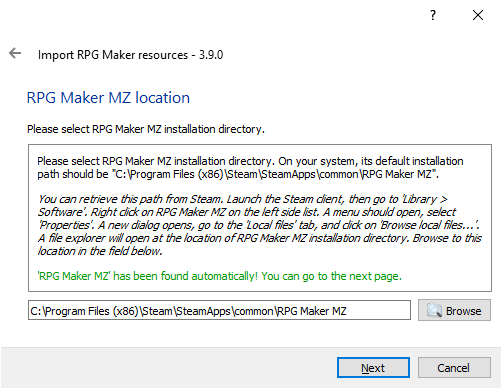
This page asks you to locate the installation directory of RPG Maker MZ. If RPG Maker MZ was installed from Steam in its default location then the wizard should detect it automatically. In this case, simply click on Next.
If no default location is supplied, fetch to it via the Browse button. Once this is done, click on Next.
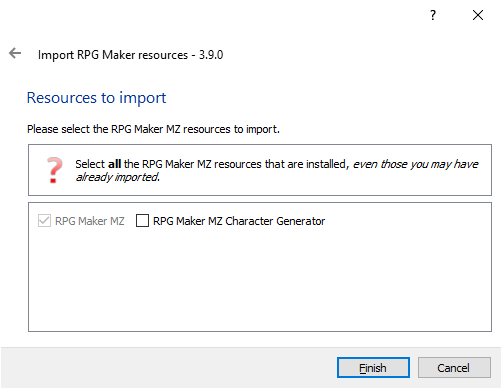
Now simply select the assets to import. RPG Maker MZ is selected by default and cannot be unchecked. Tick RPG Maker MZ Character Generator if the DLC of the same name is installed. Click on Finish!
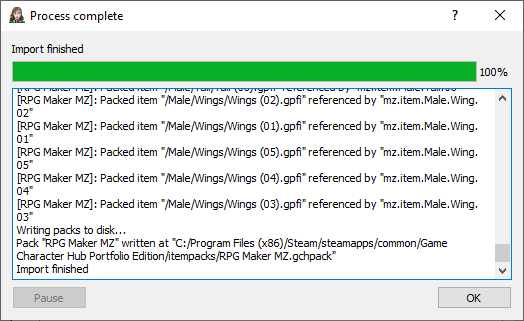
Wait for the import to complete and click on OK. You can go to the final step.
Restart Game Character Hub. A new window should appear, asking you if you want to install the RPG Maker MZ asset pack.
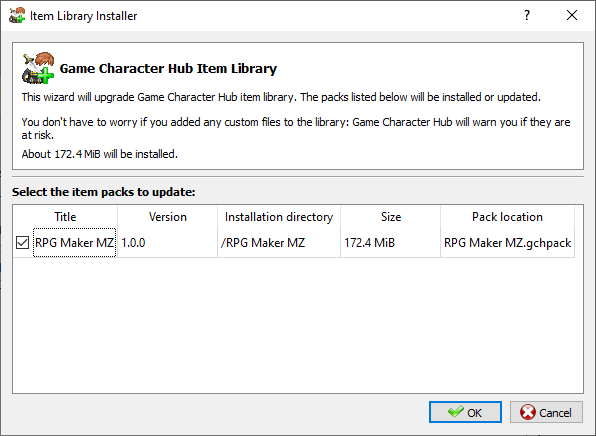
Make sure the item pack is selected and click on OK. The pack will then be imported and ready to use!